Mywifiext.net enables you to set up or configure your Netgear wireless range extender by accessing an internet browser on your computer. For this, the PC should be connected to your current home or office network. In order to interface your extender to WiFi, you have to know a few insights regarding your WiFi system, for example, the network’s password and SSID. Given that the extender amplifies your current wireless network’s signal beyond its existing range, so you won’t need to panic that the WiFi signals will drop suddenly at a critical moment.
As we all know very well that a Netgear extender (also known as a wireless repeater) works with any WiFi router or gateway and empowers a superior wireless connection for workstations, home theater gadgets, smartphones, and a lot more. You can have full access to your WiFi- supported gadget by making a strong connection between your extender and home network.
In order to make it happen, you should have a mywifiext account either to install or configure the settings of your WiFi range extender. You can interface your Netgear extender with your computer or laptop by means of a wired association or wirelessly.
Without further ado, let’s talk about how to connect a Netgear wireless range extender to the internet. Continue reading.
The Most Effective Method to Connect Netgear Extender to Internet:
Pay particular attention to the below-mentioned step-by-step guide in order to interface Netgear wireless repeater to internet:
Step 1:
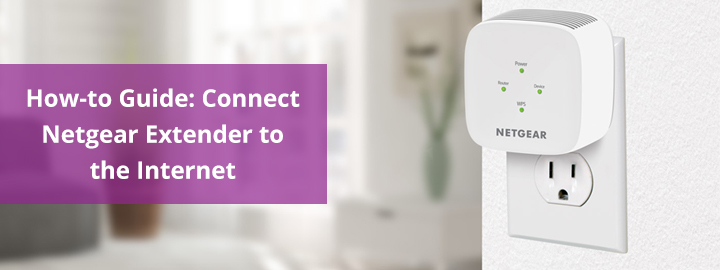
First and foremost, check the placement of your range extender as it is a major factor while making a network connection. Make sure it is placed to a dirt-free area and nearby a power outlet so that you experience no issues while plugging it in.
Moreover, do not keep the extender nearby the electronic gadgets, microwave ovens, reflexive surfaces, glasses, mirrors, metal objects, baby monitors, refrigerators, electronic toys, to name a few. The reason behind this is these devices transmit the same frequency signal or interfere the path of existing signals, degrading their strength. Once done with the extender placement, go for the second step given below.
Step 2:
Interface your wireless extender to an electrical plug carefully. Ensure that the plug is receiving fluctuation-free power supply and is itself damage-free.
Step 3:
The next step you need to take while connecting the extender to internet is switch on your computer or laptop. After that, click on the network icon. A list of the available networks will appear on the screen.
All you need to do is connect to the desired network. However, it must provide you with high- speed internet. Enter the password to establish a network connection.
Step 4:
Now, open an internet browser window on your computer and enter mywifiext.local in the address bar. After pressing the enter key, you will be redirected to the Netgear genie smart wizard or Netgear extender login page.
On the off chance that the web-based address doesn’t work for you, use 192.168.1.250 IP address for the same.
Step 5:
Once you are on the mywifiext.net login page, it will require you to enter the login credentials i.e. user ID and password. Fill in them carefully to open the Netgear WiFi extender setup page.
Step 6:
Select your wireless network and click on continue to proceed further. Type the network password in the given box and click on continue.
Step 7:
You can also type another name for your home or office network. Also, set up security settings for your network to prevent it from any sort of unauthorized access.
Step 8:
Once done, remember to save the settings properly. Now, connect all your wireless devices like computers, laptops, smartphones or tablets to the new extended WiFi network.
Step 9:
Finally, unplug your Netgear wireless range extender from the electrical socket and place the gadget at right area.
And there you are. By following the aforementioned instructions, you would be able to connect a Netgear extender to internet with great ease. In the case of any trouble while establishing a
connection, feel free to get in touch with our dedicated and knowledgeable experts.